
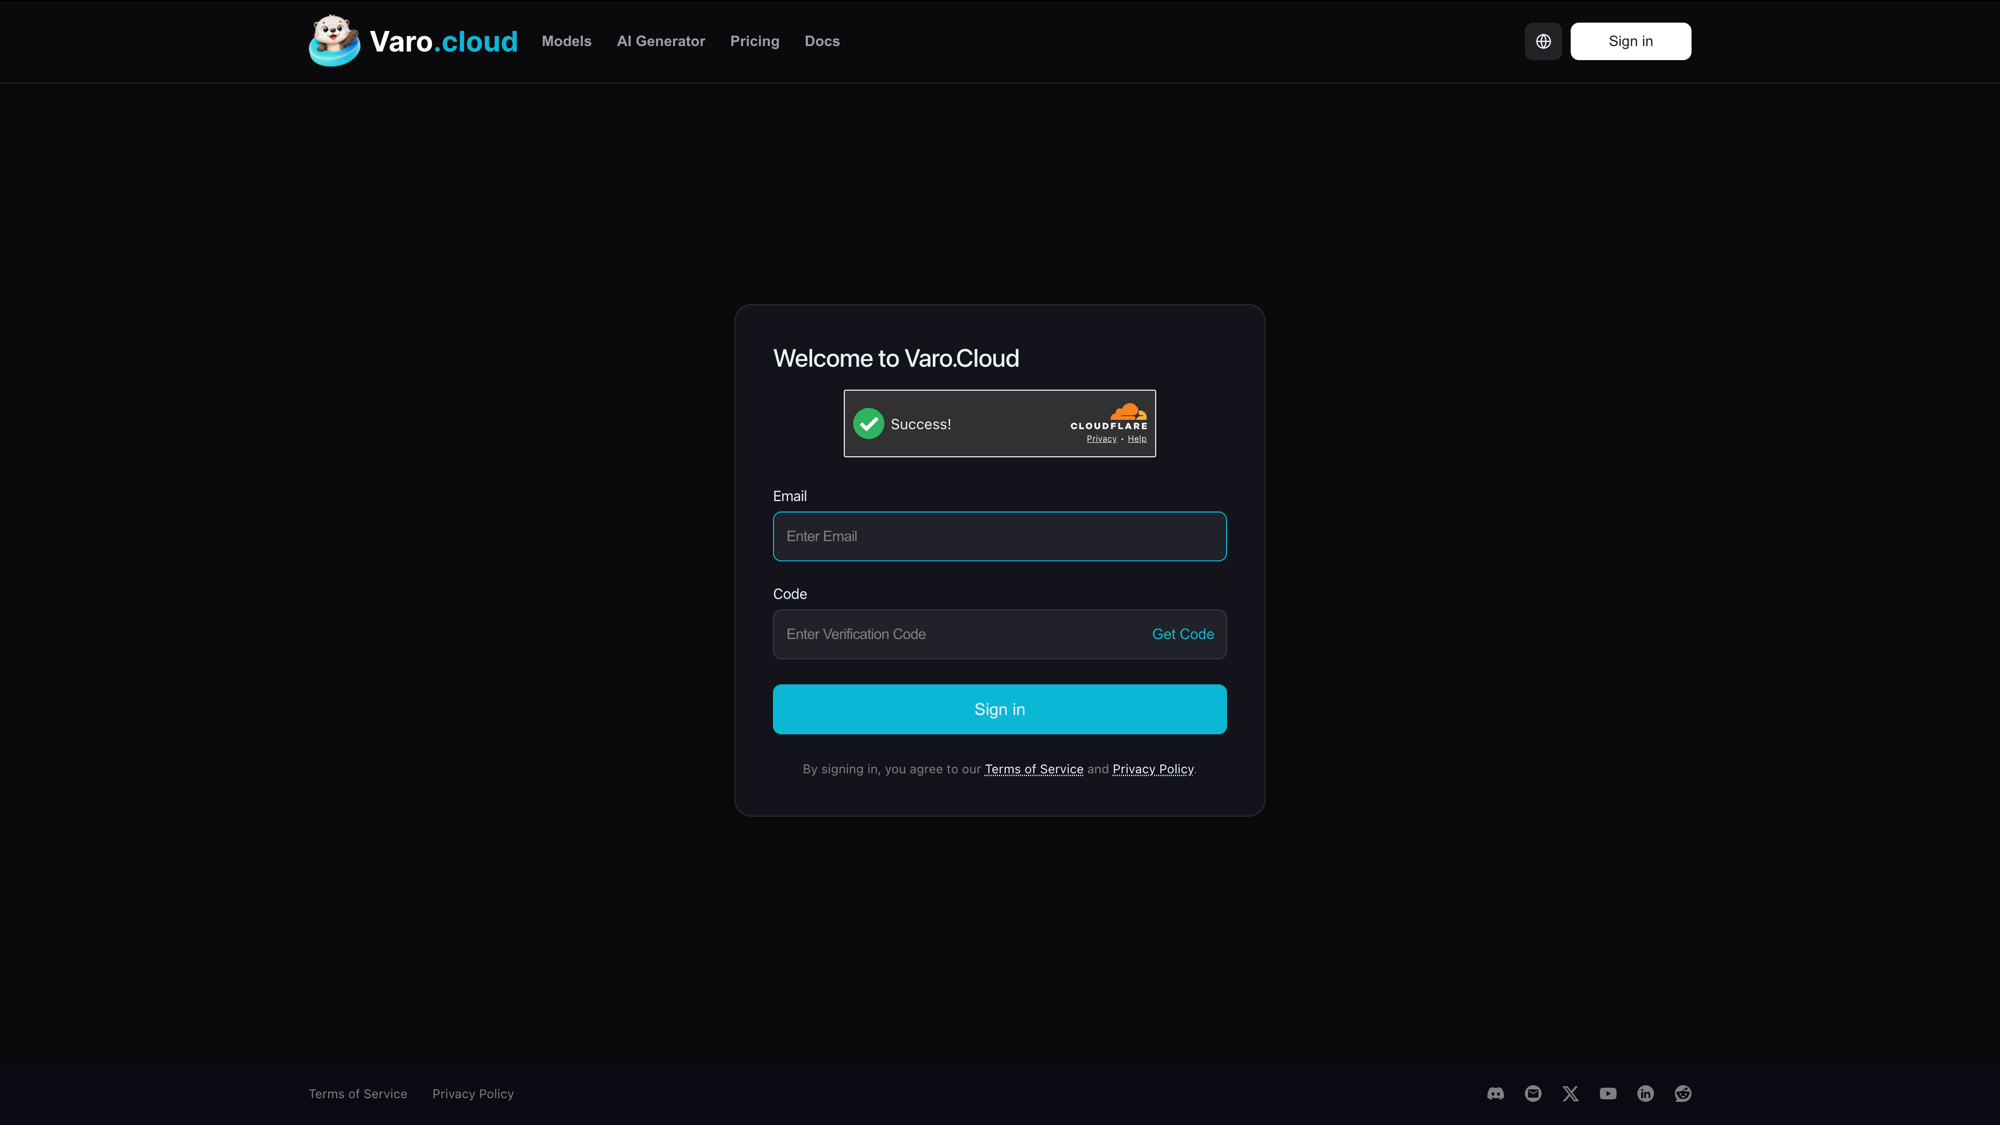
Create your account
To create your Varo Cloud account, follow these steps:- Navigate to https://varo.cloud/auth in your browser.
- Click Sign Up on the homepage.
- Enter your email address and choose a secure password, then click Create Account.
- Check your inbox for a verification email from Varo Cloud and click the confirmation link to activate your account.
Organization settings
After signing up, Varo Cloud automatically creates a personal organization for you. You can rename this organization, set a URL-friendly slug, and upload a logo to reflect your team or company branding. To manage these settings, navigate to Settings → Organization from the dashboard sidebar. The following fields are configurable from the Organization settings page:| Field | Description |
|---|---|
| Name | The display name shown across the dashboard and team invites. |
| Slug | A unique, URL-safe identifier for your organization (e.g., acme-corp). |
| Contact Email | The primary email address used for billing and account-level notices. |
| Timezone | Sets the timezone used for deployment logs, usage reports, and scheduled tasks. |
Notification preferences
Varo Cloud lets you control exactly which events trigger notifications and how those notifications are delivered. To configure your preferences, go to Settings → Notifications.- Email Notifications
- Webhook Notifications
Email notifications are sent directly to your account email address or a team distribution list. You can enable or disable notifications for the following event categories:
- Deployment events — Build started, deployment succeeded, deployment failed, rollback triggered.
- Billing alerts — Spend threshold reached, payment failed, invoice available.
- Team activity — Member invited, member removed, role changed.
